The story of Shrinky dink paper was initiated in 1973 and is still popular for creating artwork. In addition, it is one of the top tools to encourage kids’ creativity while allowing them to have fun. We all know that the general use of Shrinky dink paper consists of making art on it, cutting out the artwork portion from the whole sheet, and baking it. This is how we get durable, waterproof, a bit harder, and eye-catching pieces of artwork. But can you print on Shrinky dink paper? The straightforward answer is yes. Still, the method is tricky and requires following some prescribed approaches. Let’s check.
Why You Should Print on Shrinky Dink Paper?
We discovered the following factors that lead you to consider printing on Shrinky-dink paper.
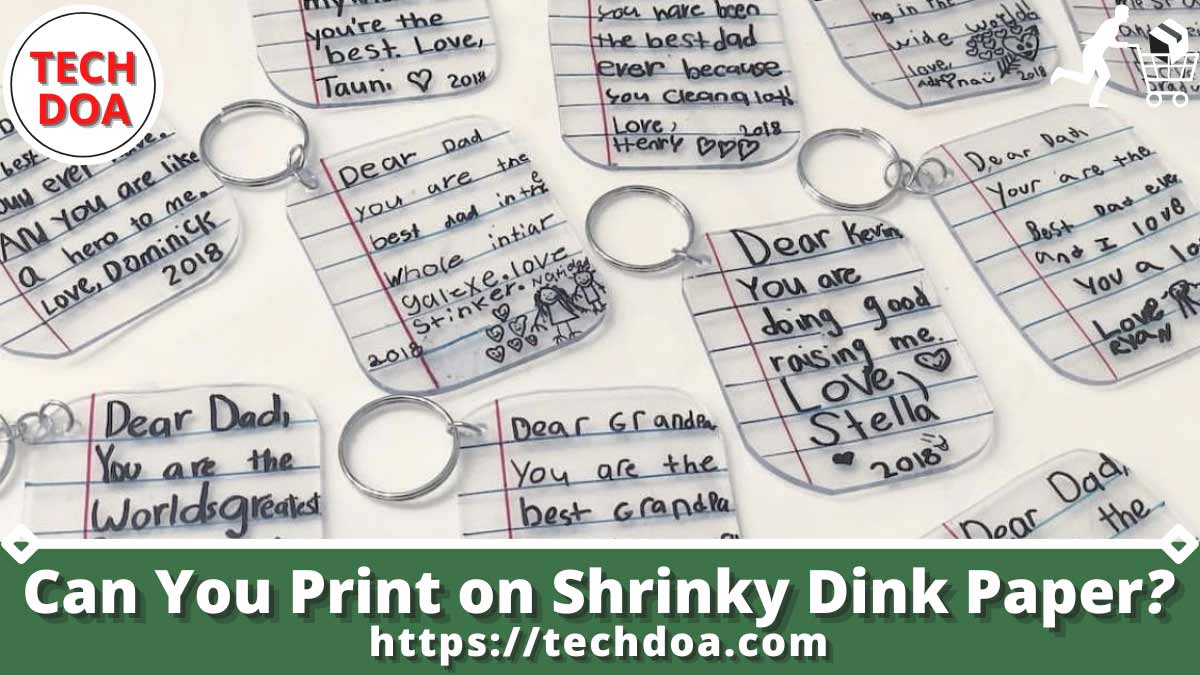
- Printing on print on Shrinky dink paper allows versatility. You can use the print for various purposes, like toy making, jewelry designing, interior styling, creating small showpieces, etc.
- Though printing on it is a bit tricky, after printing, working on it is super easy.
- This paper allows you to print more personalized designs. Simply put, it enables freedom of creativity and uniqueness.
- Shrinky dink paper is made of polystyrene. The residing chemical composition allows the artwork to shrink, which increases its durability and sturdiness.
- After all, working with shrinking dink paper is fun.
- Everyone from five years old to adults of all ages can use shrink dink paper.
How Can You Print on Shrinky Dink Paper?
In this section, we describe the process.
Step 01: Create the desired design on your computer.
Step 02: Fix the print setting. Here, the first thing you have to consider is page formatting. The required page size is 8.5 inches by 11 inches. Also, a 1-inch margin is needed.
Step 03: Now, place your design on the sheet. You can use one page to print out multiple designs. But, it is essential to remember that Shrinky dink paper will get size reduction after baking. So, ensure each design’s size is three times larger than the desired final outcome’s size.
Step 04: In this step, ensure the quality of the resolution of the printout by setting the appropriate aspect ratio, pixels, etc. We suggest you do not overdo it. Keep the resolution at standard (50%); otherwise, the print will consume a lot of ink.
Step 05: It is time for printing. Just recheck the print setup and hit the “Print” button.
Step 06: After the printed paper comes out, check the quality. Now, go ahead and print on the back side of the paper. Yes, you have to print on both sides with the same design. Here, the point is the same view from both sides of the artwork.
Step 07: Now that you have your designs printed on Shrinky-dink paper, it is time to give them shapes. Simply cut out those designs one by one (if you have multiple ones on a single sheet). Do not throw away the blank portion of the page; it can be used again to print some smaller designs. We should mention that the cutting tool’s criteria depend on the design requirement.
Step 08: Now, go for baking the designs. In the Shrinky dink paper design’s baking process, the standard temperature requirement is 320–350 degrees. Stick the cut designs with card stock and place them on the oven’s tray to reduce curliness.
Step 09: Bake the artwork for 3–4 minutes. And take those out of the oven (just take out the tray).
Step 10: If you are not satisfied with the shrinkage, bake it one more time. And remove it from the card stock with a spatula. Now you have the designs.
Step 11: Spray some enamel or put on a plastic covering to increase the durability.
3 Factors to Consider When Printing on Shrinky Dink Paper
Below is a list of factors that you must consider while designing, printing, and baking Shrinky dink paper.
- Use quality ink to get a professional look at the final outcome. Also, you must use thinly layered ink.
- To restrict its curling during the cooling period, use a card stock to put some pressure on it while baking. In this case, you can also use a heavy pan; place the pan on top of the design during the colling process.
- For printing a larger design, it is advised that you divide the design into multiple parts. Print the parts one by one. After the collating of all the parts is finished, use adhesive tape to attach those.
Bottom Line
Here, we have successfully shown that the answer is “Yes” to the question of can you print on Shrinky dink paper. There are some issues related to printing on shrink-dink paper that we would like to mention.
First of all, the used ink can be flecky, and sometimes you may see that the ink is not adhering to the paper.
Secondly, the design on paper may not show the same details as it does on the computer.
Thirdly, the color and resolution might not meet your expectations. Furthermore, printer jams may occur frequently.
However, all these can be minimized by using a quality printer, ink, and Shrinky dink paper.
More Related Articles
- 3 Ways to Fix Google Sheets Printing too Small Issue
- Is Wander Prints Legit? Best Explanation
- Why Isn’t My Canon Printer Printing in Color? Easy Guide
People Also Ask
Which side do you print on the shrink film?
Every shirk film has two sides: matte and glossy. Use the matte side to print, and be careful while loading the paper onto the printing machine.
How do you seal inkjet Shrinky Dinks?
To seal the specially designed shrink-dink paper, the very first thing you can do is place it in a freezer. You can also use spray no-color enamel and a plastic covering. If you are using a plastic covering, use a heat gun to ensure the right fit.
What ink is best for Shrinky Dinks?
In the ink selection, you should go for pigment-based ink. We suggest not going for dye-based ink. However, regardless of the ink you use, do not cook the designed shrink dink paper right after the printing job is finished.

Founder, CEO and author of Techdoa.com. With a great experience after using multiple printers, I review best printers with proper guideline. I hope my provided information will inspire you to choose the best printer for your personal or professional work.